First Paddle of 2017!

Spring came early to the Gunflint Trail in 2017. The crocuses outside the outfitting building started blooming this week (that’s 2+ weeks ahead of when they bloomed last year) and the snow cover has disappeared from all but the darkest, coolest corners of the woods. With the seemingly endless string of sunny days that we’ve enjoyed over the last couple weeks, it’s hard to remember that we’re still in the first half of April and that the BWCA paddle season is still weeks away. 

Last weekend, the water level rose significantly in the section of the Cross River that runs beside the Round Lake Road. A dramatic rise in the rapids usually means that an iced-up section of the river upstream has let loose. 

On Tuesday, Andy and I decided to take advantage of the sunshine by going for a walk around the neighborhood. A couple steps out of the front door, we realized that we didn’t have to go for a walk . . . we could go paddle into Ham Lake. So we turned on a dime and headed over to the canoe yard to throw the Royalex Champlain (aka, the Bathtub) in the back of the pick-up and drove down to the Cross Bay entry point. 
Cross Bay Entry Point Dock April


At first glance, it looked like a large section of ice that had drifted into the landing dock would immediately hinder our adventure, but we were able to sneak around the edge of the iceberg to make it to the first portage. 


First Portage to Ham Lake April

The first portage landing on the route to Ham Lake is fairly shaded so there was plenty crystalized snow to pick through. Although the partial snow cover made them slightly treacherous, we sure appreciated the steps the U.S. Forest Service installed on this portage last August with a group of volunteers. 

Ham Lake Portage April

A Royalex canoe is a great early season canoe option because it is much warmer than an aluminum canoe (those aluminum bench seats can be chilly) and you don’t have to be as careful with it at portage landings as you would with a Kevlar canoe. Of course, it does weigh about 80 lbs, but that didn’t phase me . . . until Andy made me portage it on the trip back to the landing. <cue the sad trombones> 
Cross River Rapids April

Except for a few icebergs here and there, the route to Ham Lake was wide open and we scared up quite a bit of water fowl (including a dozen Canadian geese) as we traveled through one of the only navigable stretches of open water on the Gunflint Trail. But once we got to Ham Lake, the smooth sailing came to an abrupt end. 

Iced In Ham Lake April

You can reach the first campsite on Ham Lake. Not sure what you’d do there (catch up on your reading? Watch for ice out?) if you were to camp there right about now, but you could easily reach it in about a 25 minute paddle from the Cross Bay entry point. 
Ham Lake First Campsite AprilAndy Tuscarora BWCA Paddle April

Ham Lake Portage Trail BWCA AprilCross Bay Entry Point BWCAW April

It’s been a hard year to make accurate ice-out predictions for Gunflint Trail lakes. This year’s weird winter weather, particularly the rain that we received, seems to have changed the molecular structure of the lake ice and in turn, effecting how the ice melts. Instead of turning dark and candling as per usual, the ice this year seems to be turning into white slush and simply dissolving. 

Andy describes Gunflint Trail lake ice conditions in this video from Thursday, April 13: 

At any rate, even with the cooler weather predicted for next week, we think it’s fair to say that in a week’s time, we’ll probably be able to paddle Ham Lake and maybe even the entire Snipe Loop. It won’t be a record-breaking Gunflint Trail ice-out ala 2012 and 2010, but it will be a very early Boundary Waters paddling season at Tuscarora Lodge and Canoe Outfitters for sure. 

What’s the earliest BWCA canoe trip you’ve ever taken? 

A Trip Down Memory Lane

In its 82-year history on the Gunflint Trail, Tuscarora has evolved from boat-in cabins on Tuscarora Lake to the Boundary Waters canoe outfitters with lakeside cabins on Round Lake that it is today.

Much of what you see when you drive into Tuscarora – right down to that distinctive “Tuskie Tan” paint color – is compliments of the Leeds family, who owned and operated the Lodge from the late 1970s until the early 2000s. The dining hall, outfitting/office building, and a couple of the year-round cabins were constructed in the late 1980s and early 1990s and while it’s hard for us to imagine the property without these buildings, many long-time cabin guests distinctly remember what the property looked before. 

It’s always fascinating to talk with these guests to try to draw up a mental picture of what Tuscarora must have looked like “back when.” 

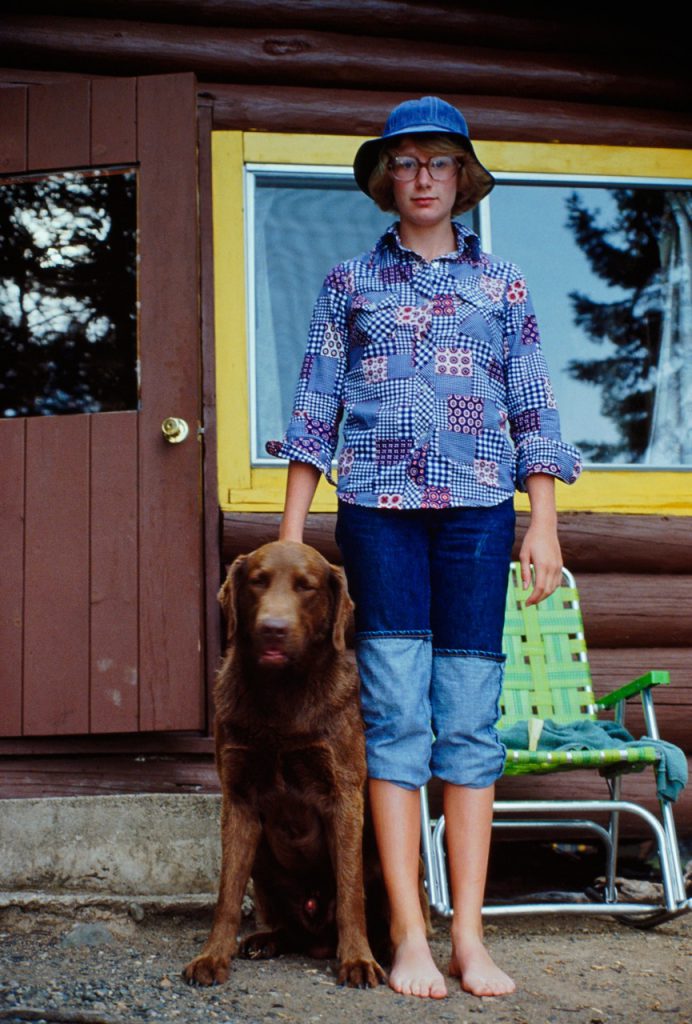
Members of the Hans Anderson family have been cabin guests at Tuscarora for decades and a month ago, Hans’ daughter, Mary, sent several photos her dad took during their annual Tuscarora vacations between 1977 – 1981 and finally we were able to visualize retro Tuscarora. 

DSC00371

This log cabin was located where Cabin 3 sits today. 
image009 image001 image002

The sandy beach down from Cabin 5&6. 

image003

Laundry day in front of Cabin 6. 

image004

Before the dining hall was constructed in the late 1980s, guests ate their French toast breakfast in the Lodge, which is now a rental cabin. 

image005 image006 image007 image008

Do you remember when Tuscarora looked like this? If you have any old photos to share from your Tuscarora vacations, we’d love to see them! 

Easy Camp Food: Chewy Tuscarora Granola Bar Recipe

It’s hard to imagine going on a Boundary Waters canoe trip and not eating a single granola bar. A lightweight, high calorie Boundary Waters snack staple, granola bars are the quintessential energy pick-me-up at the end of a portage or for a pause in paddling across  a large lake. While there are hundreds of pre-packaged granola bars to choose from these days, nothing beats a homemade granola bar when you’re on trail. Some people prefer homemade granola bars in the form of Hudson Bay bread or flapjacks (kind of a glorified oatmeal cookie bar), but at Tuscarora, we’re partial to this chewy granola bar recipe which produces a thin, toothsome bar quite similar to the pre-packaged granola bars you can buy from a well-known oat company but better.

First, you need to assemble and measure all your ingredients. This is by far the most time consuming part of this entire recipe.

Foodies – don’t knock the decidedly un-gourmet “glue” used to bind these granola bars together. (You can redeem yourself slightly by using local honey instead of corn syrup, but I haven’t hit upon a dignified substitute for the bag of marshmallows.)

Astute observers will note that the vanilla extract bottle hangs out in the foreground during the entire video. Yup, totally forgot to stir the 2 tablespoons of vanilla into the marshmallow mixture after it came out of the microwave. Don’t worry, the bars still came out perfectly.

Quaker Oats Chewy Granola Bar Copycat Recipe HomemadeThe chocolate chips have a tendency to fall off the top of the bars when you cut them, but if you stir them into the batter before baking, they will melt completely and turn the whole batch of bars chocolate-colored. Pick your poison. (Note: just not including chocolate chips in the recipe is not really considered a viable option in this household.)

Homemade Chewy Granola Bar recipe

Like most granola bars, this recipe is highly adaptable and very allergen friendly.

  • Gluten-free: use gluten-free oats and rice cereal.
  • Dairy-free: use coconut oil and dark chocolate chips (or forego the chocolate chips all together -gasp!)
  • Peanut-free: substitute your favorite tree nut for the peanuts and use almond butter instead of peanut butter

You can also get creative with your mixture of dried fruit, nuts, and chips to adapt the recipe to your tastes. I usually use a combination of raisins and craisins for the dried fruit, but this time I found some fruit bits (apple, raisins, apricots) in the cupboard, so used those. Other possible flavor combos include craisin/white chocolate, cherry/blueberry/dark chocolate, etc. etc.

Chocolate Chip Fruit and Nut Granola Bar Recipe

These definitely won’t be a super lightweight item in your food pack (a full batch weighs about 1.5 lbs), but you will have cut down on the amount of trash you have to pack out. It’s nice to have a good tasting ready-to-eat snack in your pack that isn’t full of preservatives. Let us know if you give these a try.

Chewy Tuscarora Granola Bars
 
The most time consuming part of making these granola bars is measuring out all the ingredients! When you combine the dry and liquid ingredients, you may want to dive in with your hands to get the dry ingredients evenly incorporated. These bars will keep at least 1 week at room temperature and will keep indefinitely in the freezer. If you don’t have a jelly roll pan, you can bake these in a 13×9″ pan. Just increase the baking time by 5 minutes and expect a more “toothsome” granola bar.
 
Servings: 32 4×1.5″ bars
Prep Time25 minutes
Cook Time10 minutes
 
Ingredients
 
  • cups quick oats
  • cup crispy rice cereal i.e. Rice Krispies
  • 1/2 cup flaked coconut
  • 1/2 cup sunflower kernels
  • 3/4cup peanuts
  • 1 1/2cups dried fruiti.e. raisins, craisins, fruit bits
  • tablespoons toasted wheat germ
  • tablespoons toasted sesame seeds
  • 1 (10.5 oz) package marshmallows
  • 2/3 cup peanut butter
  • 1/2 cup butter OR coconut oil
  • 1/4 cup light corn syrup OR honey
  • tablespoons vanilla extract
  • cup mini chocolate chips
Instructions
 
  1. Preheat oven to 350 degrees F. Grease a 17×11″ jelly roll pan.
  2. In a large bowl, combine oats, rice cereal, coconut, sunflower kernels, peanuts, dried fruit, wheat germ, and sesame seeds. Set aside.
  3. In a large, microwave-safe bowl, combine marshmallows, peanut butter, butter/coconut oil, and corn syrup/honey. Microwave on high in 1 minute increments – stirring in between – until all ingredients are melted and smooth. Stir in vanilla extract.
  4. Pour marshmallow mixture over dry ingredients and mix until thoroughly combined. Press mixture into the prepared pan. Sprinkle chocolate chips on top.
  5. Bake for 10 – 15 minutes until bars are set and the edges are golden bar. Let cool completely. Cut in 4″ x 1.5″ bars.

What To Wear in the Winter in the Boundary Waters

No season poses more challenges in the Boundary Waters than winter. How to dress for winter play in the Boundary Waters is particularly puzzling, especially since it’s not unheard of for winter temperatures to fluctuate as much as 70 degrees in the span of 24 hours. (Just think how differently you would dress for 30ºF temps vs. 90ºF, yet we hardly bat an eyelash when temps go from -35ºF below to 35ºF above in the winter months.) While hypothermia should be a consideration nearly all year in the BWCAW, at the risk of sounding hyperbolic, a clothing misjudgment in the winter can lead to the loss of toes or even, life. (We’ve all read To Build a Fire, amirite?) If you get only thing right during your winter camping or ice fishing adventure, you want it to be your clothing.

What to wear in the winter in the Boundary Waters

The amount of winter clothing you need directly correlates to your level of physical exertion, so you really need two clothing plans for any given day: one for when you’re in motion and the other for when you’re in camp or hanging out by an ice fishing hole.

After 30+ winters in northeastern Minnesota, we’ve honed our winter clothing pretty well, so we’ve  put together a “winter wear primer” to help others avoid common stumbling blocks when dressing for winter weather.

On any typical winter day, we’re wearing some sort of mix and match outfit from what’s laid out below.

Winter Clothing For the Boundary Waters

How all that clothing shakes out each day depends on the day’s activity, temperature, and wind.

1) All about that base

Boundary Waters Winter Clothing Base Layer

Rule #1 for winter wear in Minnesota is to dress like an onion –  an onion made of wool, that is. Keep the layer next to your skin comfortably snug and opt for wool material to avoid a cold, clammy base layer. The wool wicks moisture away from your body so you stay dry when you’re in motion and warm when you’re taking a breather. (If you’re allergic to wool, consider silk.)

I’ve had good luck with stuff from Minus33, a company specializing in merino wool garments of varying weights. I wear their mid-weight long sleeve shirt when temps are above 0º and opt for ” expedition weight” when it’s colder. For bottoms, I throw on the nearest pair of leggings (yep, those much hyped Lularoe leggings work pretty well as long underwear) if it’s a warmer winter day, but it’s below 0º, I opt for mid-weight wool long underwear.

2) Pants
IMG_9425

Wool pants are the #1 item we recommend if you’re serious about winter recreation in the Boundary Waters. In our opinion, wool pants are the perfect winter pants solution for northeastern Minnesota’s climate, since they seem to maintain a comfortable temperature regardless of if it’s 30º above or -20º. They might not win fashion points, but they wick moisture,  dry quickly, and as long as you have a base layer on, aren’t itchy. Beside, you can wear them right next to a fire and never worry about them melting. If you’re planning to hike several miles in a day, you’ll appreciate their breathability.

Note: Unfortunately, wool pants are very difficult to find in a women’s cut. (L.L. Bean used to be a safe bet, but they don’t have any listed on their website currently.) It’s worth hunting around for a pair, because trying to squeeze into a pair of men’s cut is not a comfortable solution.

IMG_9427
Wool pants are your best option for if you’re planning to spend most of your day in motion, but the wind will whistle straight through them. For more sedentary winter activities (i.e. snowmobiling, ice fishing), don’t knock bib snow pants. While bibs can be a pain, it is nice to duck under a snow-laden branch and not have a mini avalanche down your backside. They’re clumsier to move in than wool pants, but if you’re hanging out in windy conditions, insulated water and windproof pants are what you want. Alternatively, you could just pull a windproof nylon shell over your wool pants.

3) Middle layer

IMG_9429

This is the part of dressing for winter where the wheel starts to come off the wagon for people. Functional winter clothing is definitely an investment and many people try to fudge it with lots (and lots) of layers of cotton sweatshirts, sweatpants, pajama pants, and rain gear. But more clothes does not equal more warmth. In fact, by the time you’ve pulled on four sweatshirts and shoehorned yourself into your rain jacket, your clothing will be so tight, you’ll be compromising your blood’s circulation. Your body’s internal furnace can’t keep you warm if it can’t fully circulate blood.

Also, no one wants to end up like Randy in The Christmas Story:

via GIPHY

But good news! This is a classic case of “less is more.” All you really need for your mid layer is a loose fitting wool sweater or Polarfleece pullover or zip-up. The idea here is to create pockets of warm air around your body, just like how a quilt functions. If it’s below 0º, I throw a down or Primaloft vest over my sweater. Always have a vest in your backpack to use as an outer layer on a long rigorous hike or as an extra layer if the wind picks up.

4) Socks

IMG_9434

Oooo, is there anything worse than cold toes? This is another area of winter wear where people compulsively keep throwing on layer after layer . . . to their own detriment. The last thing you want is your feet sheathed in an impenetrable layer of socks; you want the warm air inside your boots to actually reach your little piggies.

You should just need one or two layers of socks, regardless of the temperature. When it’s above 0º, I wear a merino wool hiking sock. If it’s colder, I’ll pair a thicker wool sock with a lightweight liner sock.

Not all wool socks are created alike and if you’ve been wearing wool socks for a while, you’ve probably had the unpleasant experience of having a pair of popular and expensive wool socks blow out in the heels and balls of your feet after just a few wears.  We’ve gone through a lot of different wool socks and find Point 6 and Darn Tough brands to have the best bang for your buck(s).

5) Boots

Steger Mukluk winter boots made in Ely
There are a lot of schools of thought when it comes to winter footwear. Many Minnesotans swear by Steger Mukluks. Mukluks are your warmest and lightest winter boot option if you’re walking through dry powdery snow. However, they’re not waterproof, so don’t wear them if there’s a chance of slush.

IMG_9432

I wear Schnee’s Extreme Pac boots for most Boundary Waters winter adventures because they’re waterproof, the removable thinsulate/wool liners keep feet warm and dry, and the textured soles are helpful slippery portage hills. They’re on the heavy side, although not nearly as clunky as the Baffins I clomped around in for years. I spent my childhood in Sorel boots which sport a very similar design to these Schnees. One point in the (more expensive) Schnee boots’ favor is that they can be sent into the factory in Montana for resoling, although you to get years and years of use out of a single pair.

Honestly, for a couple hour excursion in above 0º temps, I’d just pull on my Bogs since I won’t be standing still long enough for the completely unbreathable neoprene to turn the inside of boots into a swamp. Regardless of the fact that they’re rated to -40ºF, the neoprene in Bogs makes them a really bad option for an all day or overnight expedition.

6) Accessories 

Mittens Hat Balaclava

One place not to skimp on layers is with outer accessories. To get away with less layers on your core and legs, you need to prevent body heat from escaping through your hands and head. A warm hat (you don’t have to wear a hand knit alpaca Tuscarora hat, but I would), a scarf or polar fleece neck gaiter, and mittens are essential winter accessories. When it dips below 0º, or if you’re going to be standing outside, add a thin polar fleece balaclava underneath your hat and gaiter. You’ll also want a pair of sunglasses (and some sunscreen) packed to combat the glare from the snow on sunny days.

I’ve always preferred mittens over gloves because they utilize “the buddy system” with your fingers to keep your hands warmer than when your hand is in gloves. I utilize a mitten system of a pair of buckskin chopper mittens to block with wind and moisture with a set of hand knit wool liner mittens inside for warmth and to wick away moisture. Mittens and gloves have a sneaky habit of getting damp, so make sure to always have a dry pair of mittens and/or gloves packed. If you prefer gloves, OR makes great waterproof gloves, just keep in mind that in frigid conditions gloves will never keep your hands as warm as mittens will.

IMG_9423

Although too warm and bulky to be useful when hiking, I pull out my Wiggy’s mittens when I’m going to be sedentary in cold weather because they’re basically sleeping bags for your hands and are impervious to extreme cold. They’re your “I never ever want to have cold hands again” solution and are nice to have in your pack to hand to the person who just stuck their hand down the ice fishing hole.

7) Outer layer

IMG_9435

To top it off your winter outfit, you need a big puffy parka or anorak. If you’re not allergic, down is your warmest option, but synthetic fibers also work well and are definitely easier to care for. A hood with a fur ruff (real or faux) is an important feature to keep the wind off your cheeks. You also want plentiful pockets to hold extra mittens, balaclavas, Kleenex, snacks, and more.

Regardless of the weather forecast, you should always have a heavy winter coat packed. Never underestimate how chilly you can grow standing in the middle of a windy frozen lake. Even on the warmest winter day, you may find you want the protection from the wind that only a thick hooded coat can offer.

What lessons have you learned about dressing for winter in the Boundary Waters? What winter clothing item would you never be without? 

How to Ice Fish in the Boundary Waters

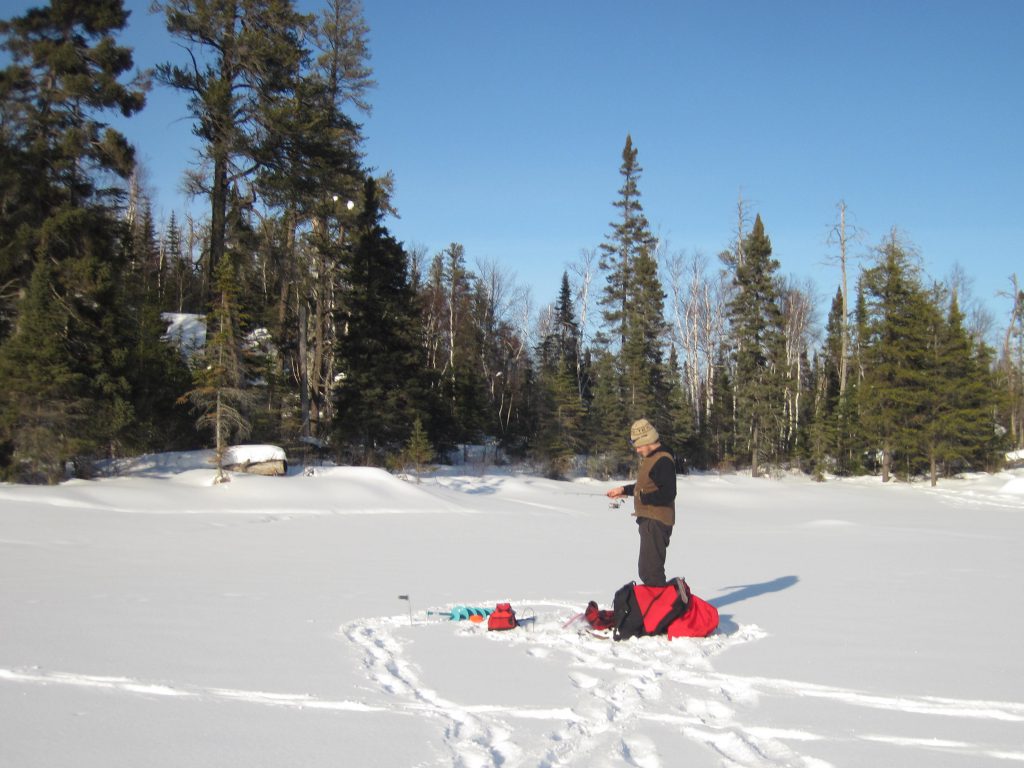
IMG_7846We spend most of our free time in the first three months of each year ice fishing for lake trout. Because our business keeps us busy all summer long, in any given year, we spend considerably more time fishing in “hard water” conditions than we do on open water.
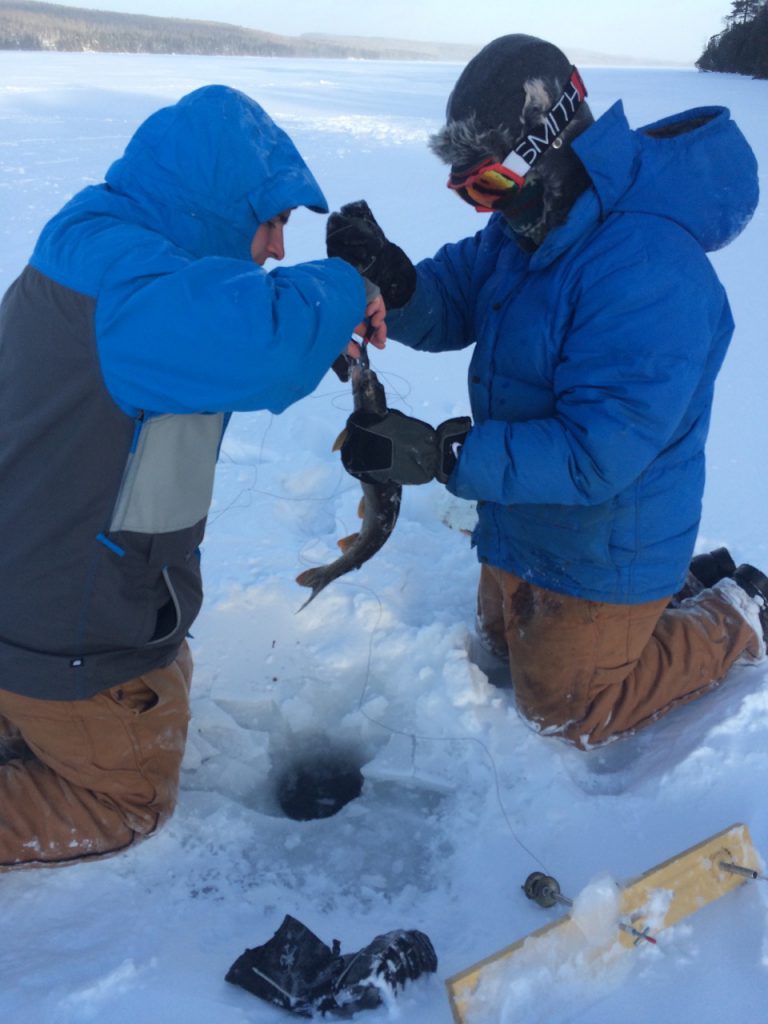
Boundary Waters Ice Fishing Lake Trout Tip up rod catch

Ice fishing can seem a little daunting. For one thing, it can be downright chilly and people are sometimes apprehensive to invest in the specific gear needed for ice fishing. But while you might have to work a little harder to succeed at ice fishing, that just makes the experience all the more rewarding. The specialized gear needed is limited to a few rods, ice scoops, and augers. Best of all, ice fishing is a great excuse to spend sometime outdoors in the winter months, even if you come home empty handed.

Throughout the year, we hear a lot of questions from those curious about trying their hand at ice fishing. What’s your favorite lure? What’s the best hand auger? Why don’t you use a sled to haul your gear? To answer all those questions and more, Andy put together this ice fishing gear video tutorial.

Don’t worry, you don’t need to make a list of all the gear Andy mentions in the video.  Just use our printable ice fishing packing list as an easy reference point when you pack for your next ice fishing adventure in the Boundary Waters Canoe Area Wilderness.

Ice Fishing PACKING LIST

Here’s one of the lures highlighted in the video:
Best Lake Trout Ice Fishing Lure

The DNR’s Lake Finder website is a great resource to guide you in choosing a Gunflint Trail lake to ice fish on. You can always give us a shout at 218-388-2221 for lake recommendations too.

Good luck anglers!